Optional Settings
The Optional Settings category provides additional features and optimizations that you can choose to apply to your Proxmox VE installation. These settings are not essential but can enhance your system's capabilities in specific scenarios.
Available Optional Features
This option installs the latest Ceph storage system support for Proxmox VE. Ceph is a distributed storage system that provides high performance, reliability, and scalability.
What it does:
- Adds the Ceph repository to your system
- Updates package lists
- Installs Ceph packages using the 'pveceph install' command
- Verifies the installation
How to use: After installation, you can configure and manage Ceph storage using the Proxmox VE web interface or command-line tools.
This adjustment automates the following commands:
This option applies specific fixes for AMD EPYC and Ryzen CPUs to improve stability and compatibility.
What it does:
- Detects if an AMD EPYC or Ryzen CPU is present
- Applies kernel parameter 'idle=nomwait' to prevent random crashes
- Configures KVM to ignore certain MSRs (Model Specific Registers) for better Windows guest compatibility
- Installs the latest Proxmox VE kernel
How to use: These fixes are applied automatically and require a system reboot to take effect.
This adjustment automates the following commands:
This option enables High Availability (HA) services in Proxmox VE, allowing for automatic failover of VMs and containers in case of node failure.
What it does:
- Enables and starts the pve-ha-lrm (Local Resource Manager) service
- Enables and starts the pve-ha-crm (Cluster Resource Manager) service
- Enables and starts the corosync service for cluster communication
How to use: After enabling these services, you can configure HA groups and resources in the Proxmox VE web interface.
This adjustment automates the following commands:
This option enables the Proxmox testing repository, allowing access to the latest, potentially unstable versions of Proxmox VE packages.
What it does:
- Adds the Proxmox testing repository to the system's package sources
- Creates a new file in /etc/apt/sources.list.d/ for the testing repository
- Updates the package lists to include packages from the new repository
How to use: After enabling this repository, you can update and upgrade your system to get the latest testing versions of Proxmox VE packages. Use with caution as these versions may be unstable.
To manually add the Proxmox testing repository, you can use these commands:
Note: $(lsb_release -cs) automatically detects your Proxmox VE version codename (e.g., bullseye).
Warning: Enabling the testing repository may lead to system instability. It's recommended for testing environments only.
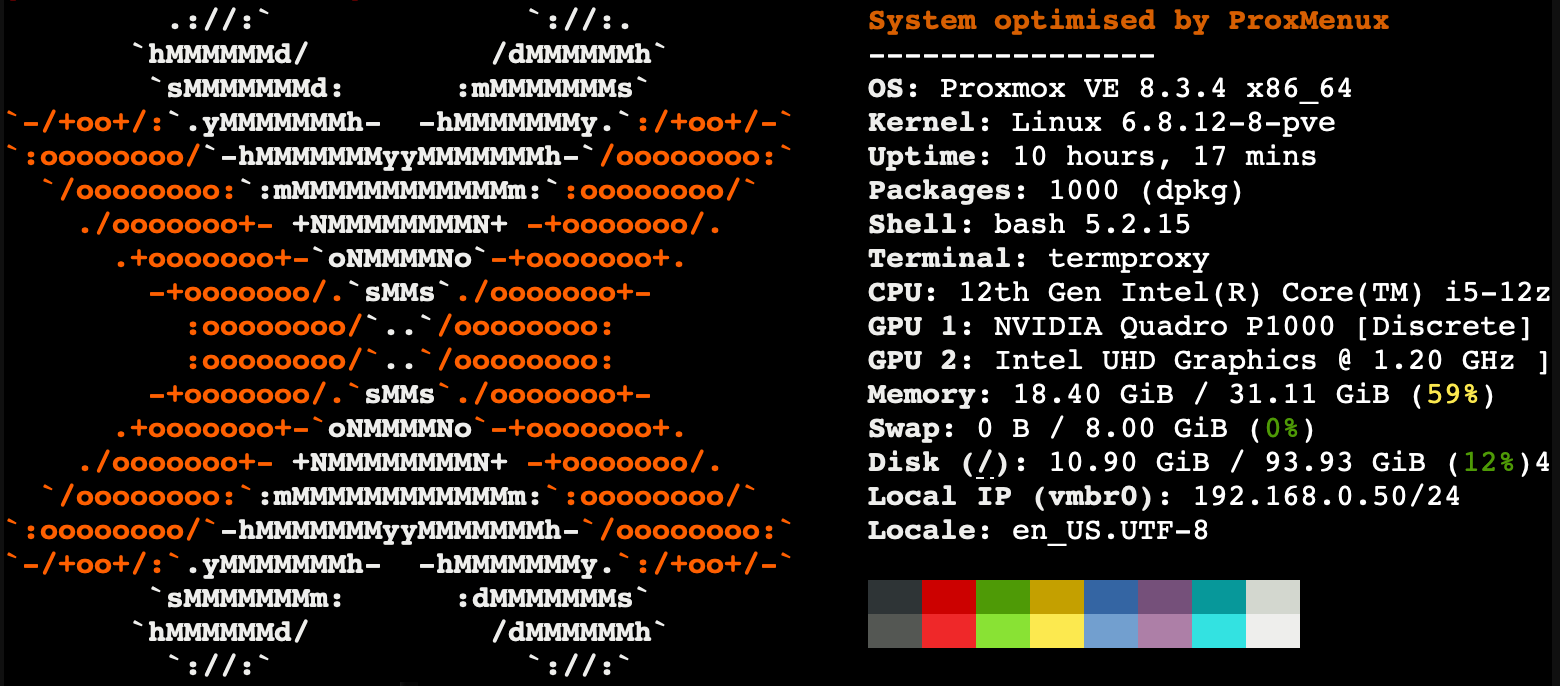
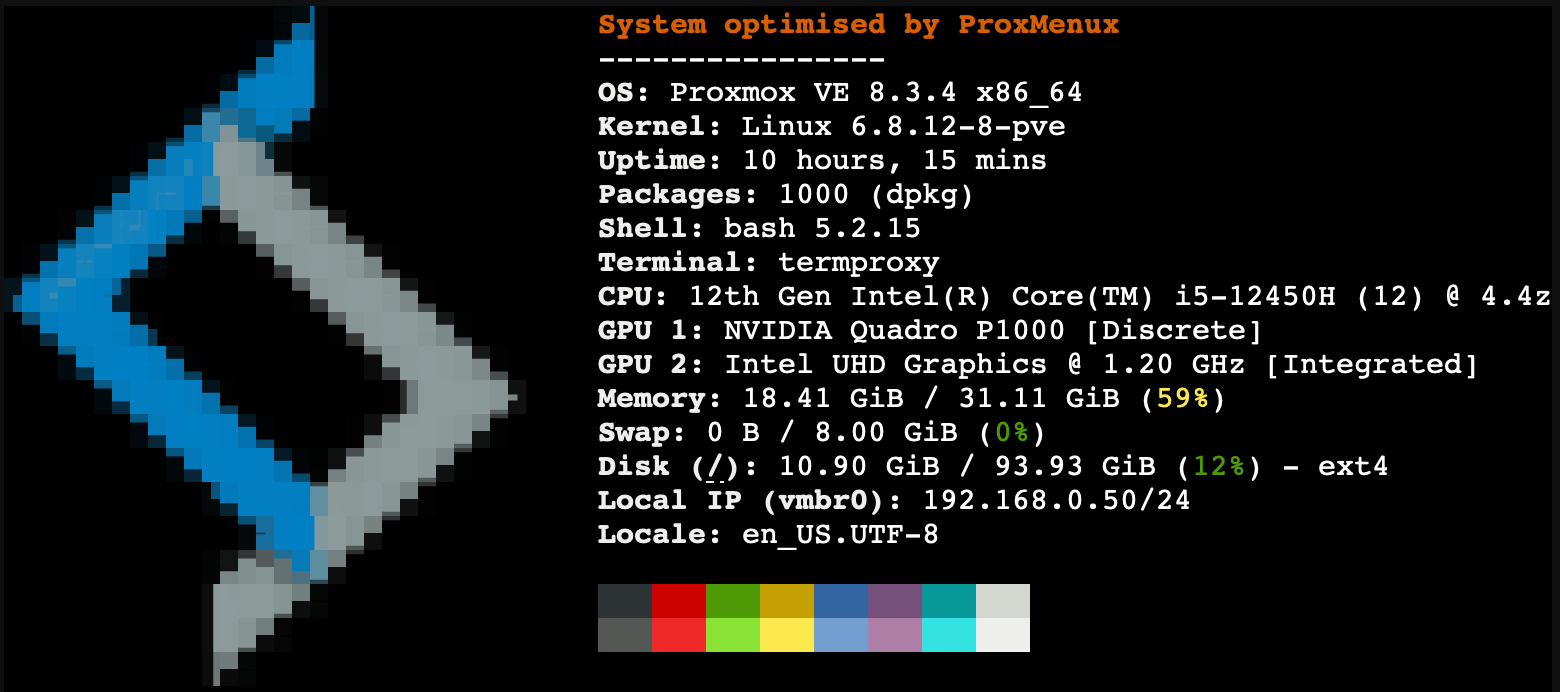
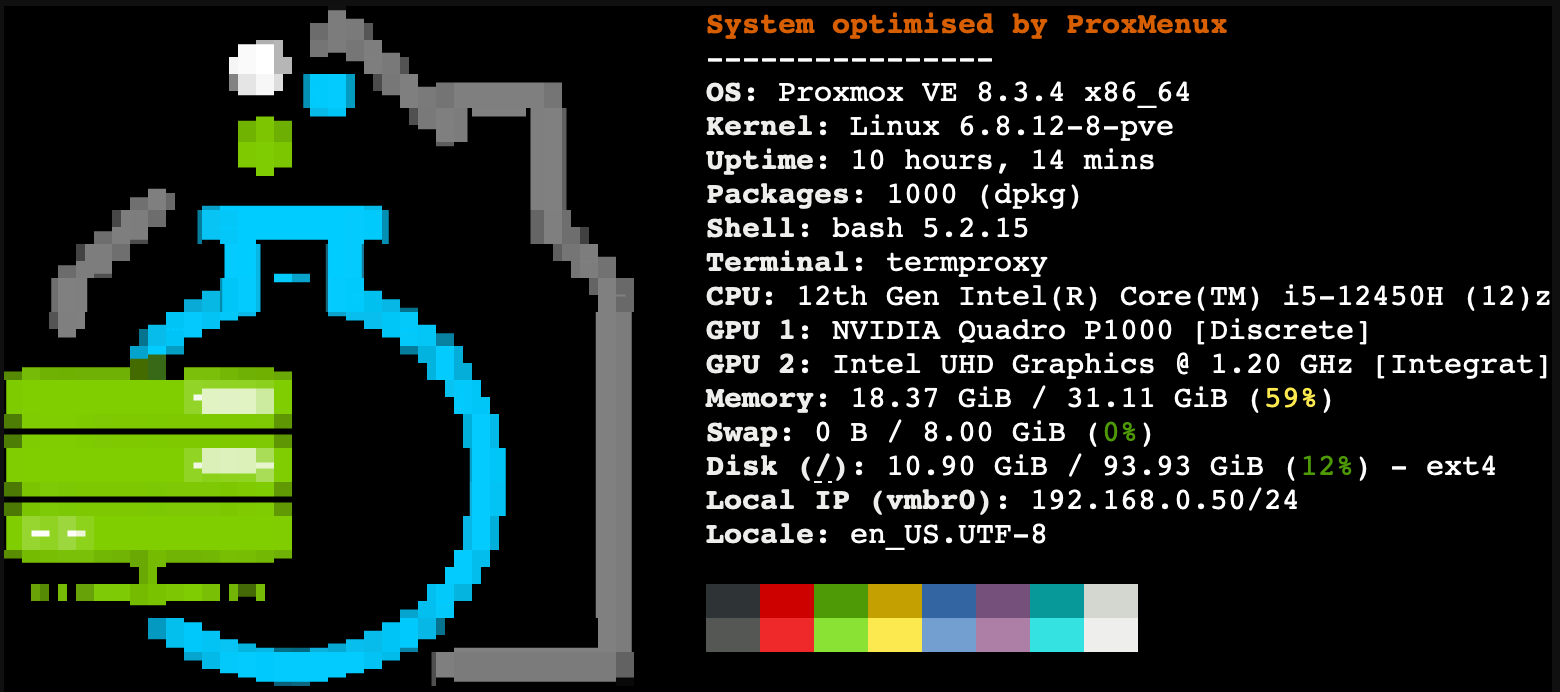
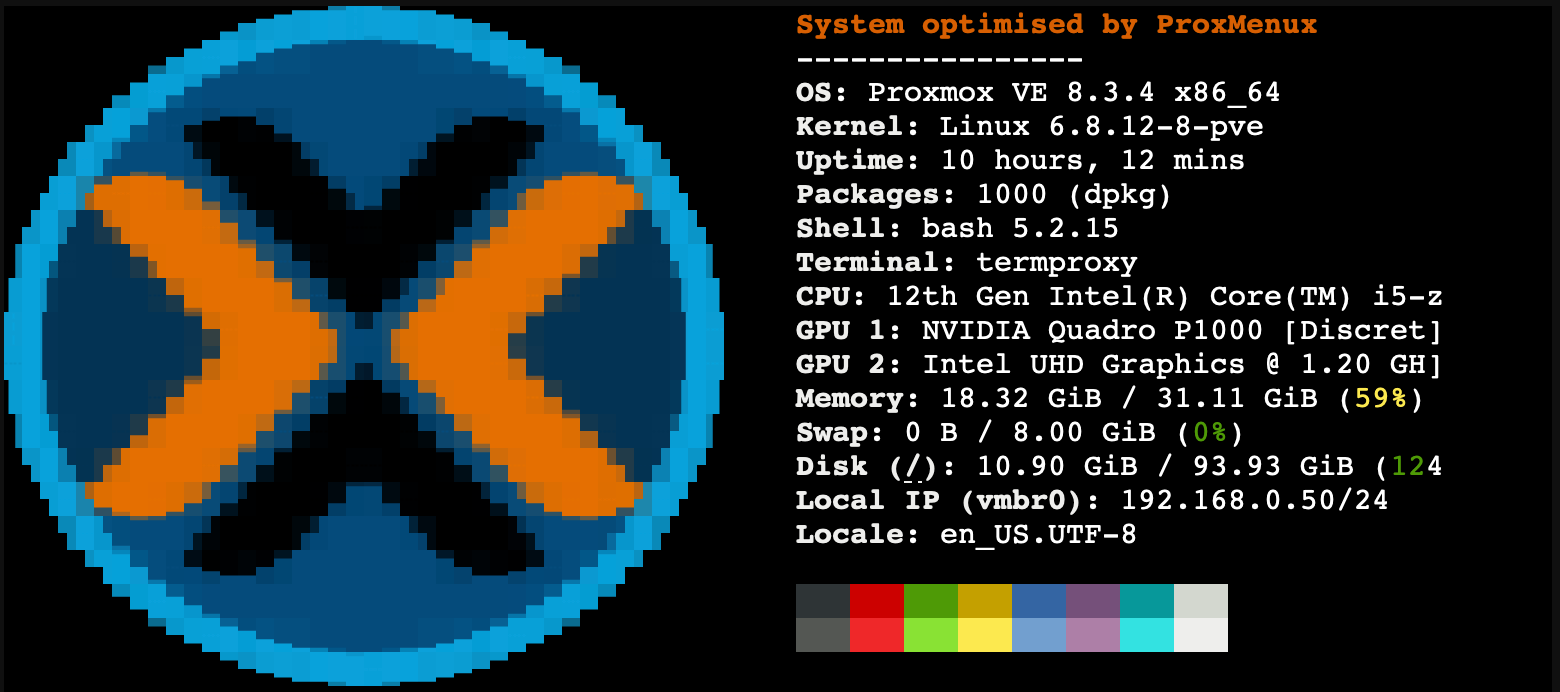
This option silently installs and configures Fastfetch, a system information tool that displays system specs and a custom logo at login.
What it does:
- Silently downloads and installs the latest version of Fastfetch
- Allows you to choose a custom logo ( ProxMenux, Proxmox, Helper-Scripts, Home-Labs-Club, Proxmology, or a custom one)
- Configures Fastfetch to display "System optimised by ProxMenux"
- Sets up Fastfetch to run automatically at console login
Important:
If you connect to Proxmox via SSH, you should select the Proxmox logo or create a custom one
using jp2a or img2txt. The other logos are generated using chafa and may
not display correctly in a standard SSH session.
Custom Logos:
To use a custom logo, place your ASCII art text file in: /usr/local/share/fastfetch/logos/
You can create custom logos using tools like chafa, jp2a, or img2txt.
For best results:
- Keep the logo height to 35 lines or less to maintain proportions and fit in the terminal
-
Use
chafafor color logos (may not display correctly in SSH sessions) -
Use
jp2aorimg2txtfor SSH-compatible logos
Example Logos:
ProxMenux

Proxmox
Helper-Scripts
Home-Labs-Club
Proxmology
This adjustment automates the following commands:
Automatic Application
These optional features are applied only when specifically selected during the post-install process. Each feature can be individually chosen based on your specific needs and preferences.