wireguard_webadmin
wireguard_webadmin is a full-featured yet easy-to-configure web interface for managing WireGuard VPN instances. Designed to simplify the administration of WireGuard networks, it provides a user-friendly interface that supports multiple users with varying access levels, multiple WireGuard instances with individual peer management, and support for crypto key routing for site-to-site interconnections.
Features
- Advanced Firewall Management: Experience effortless and comprehensive VPN firewall management, designed for simplicity and effectiveness.
- Port Forwarding: Seamlessly redirect TCP or UDP ports to peers or networks located beyond those peers with ease!
- Multi-User Support: Manage access with different permission levels for each user.
- Multiple WireGuard Instances: Enables separate management for peers across multiple instances.
- Crypto Key Routing: Simplifies the configuration for site-to-site interconnections.
This project aims to offer an intuitive and user-friendly solution for WireGuard VPN management without compromising the power and flexibility WireGuard provides.
License
This project is licensed under the MIT License - see the LICENSE file for details.
Screenshots
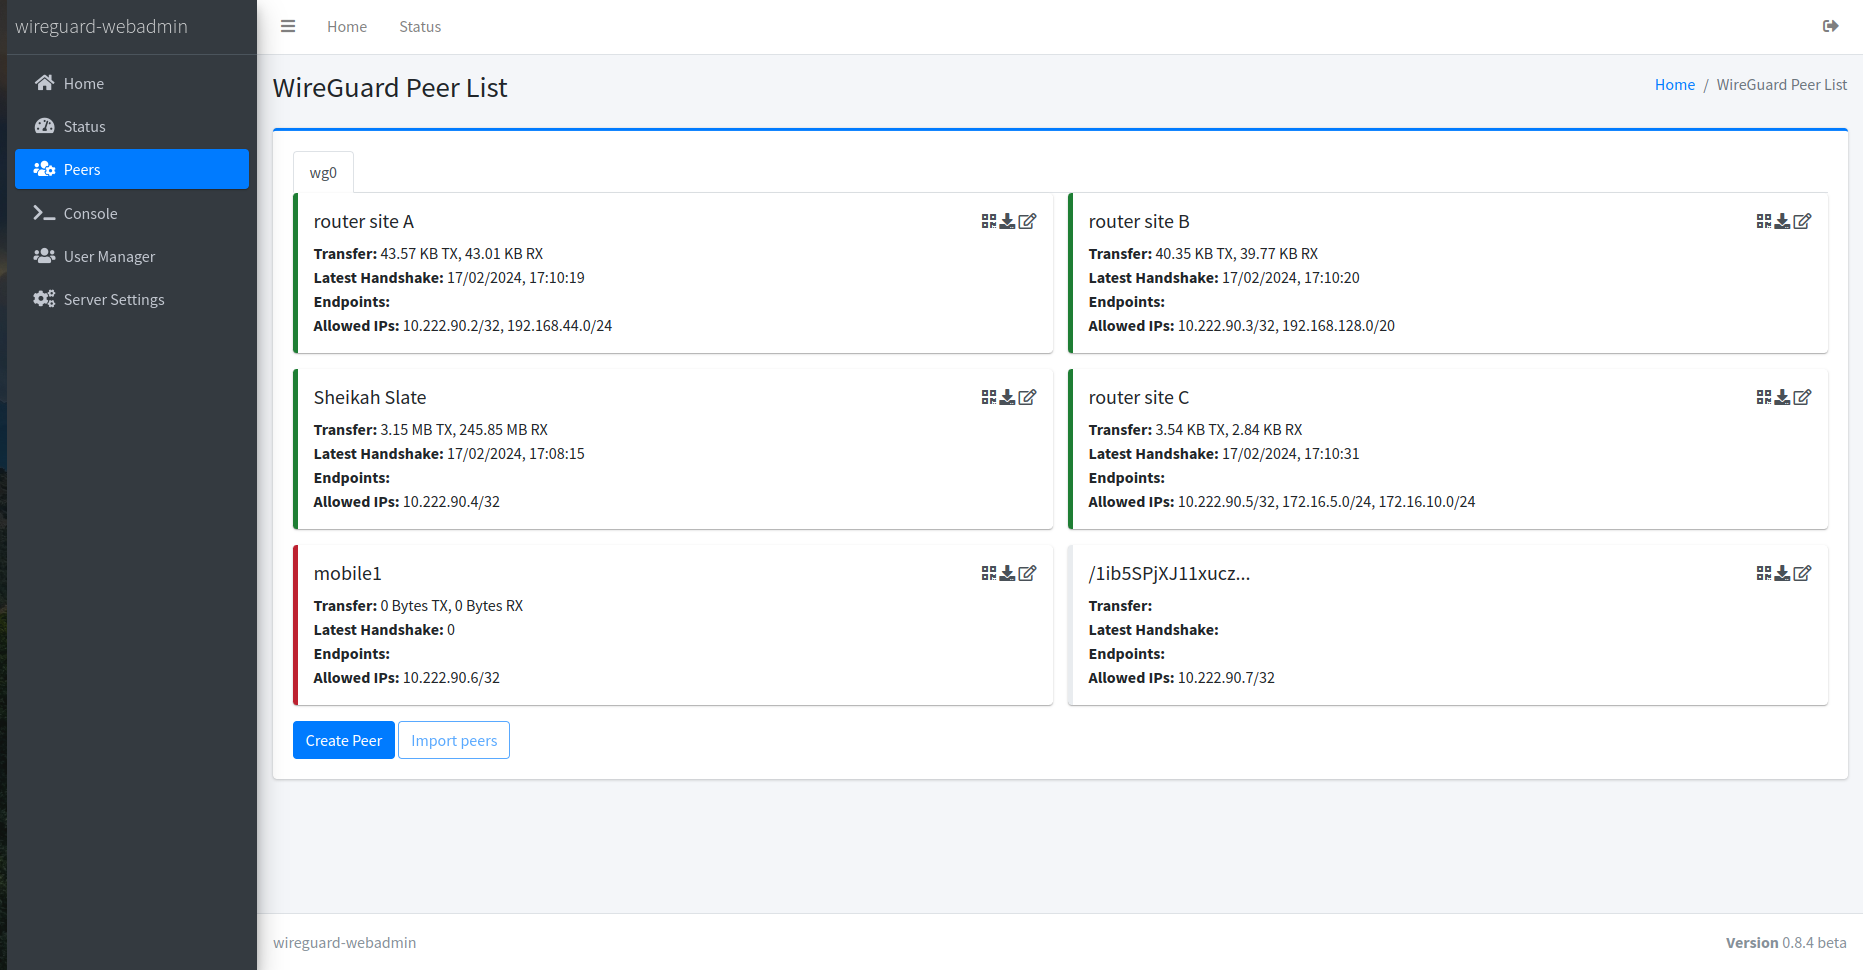
Peer List
Displays a comprehensive list of peers, including their status and other details, allowing for easy monitoring and management of WireGuard VPN connections.
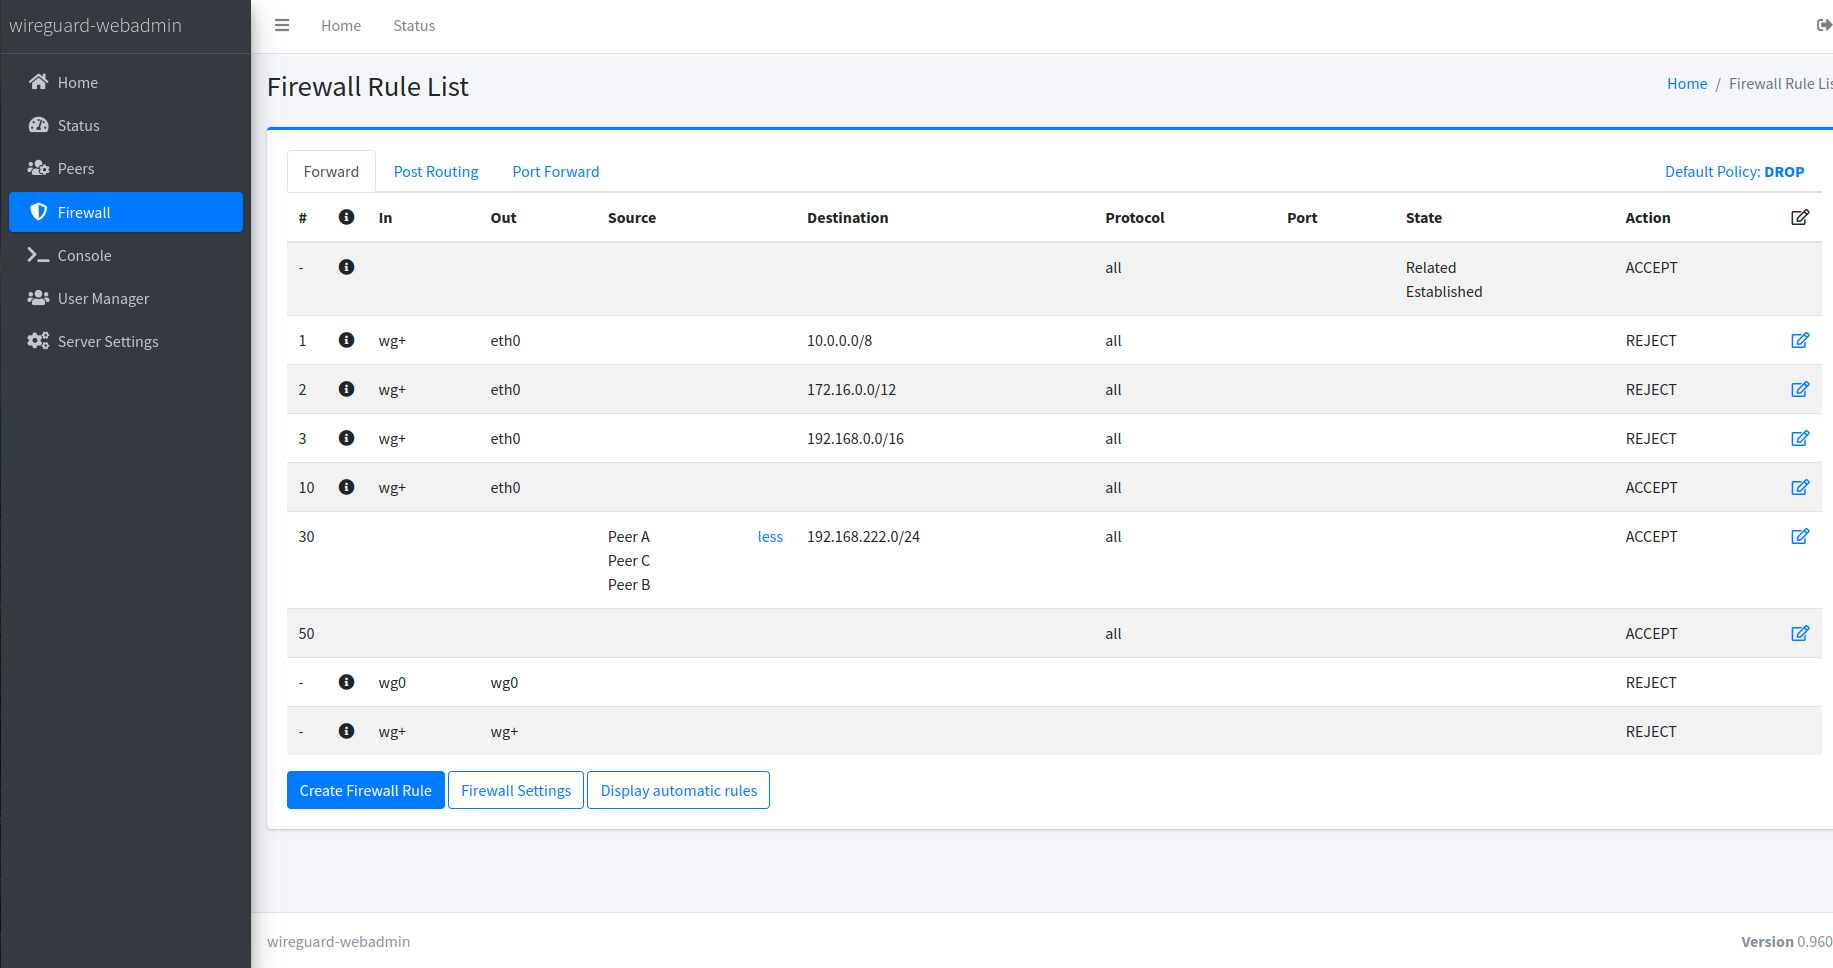
Firewall Management
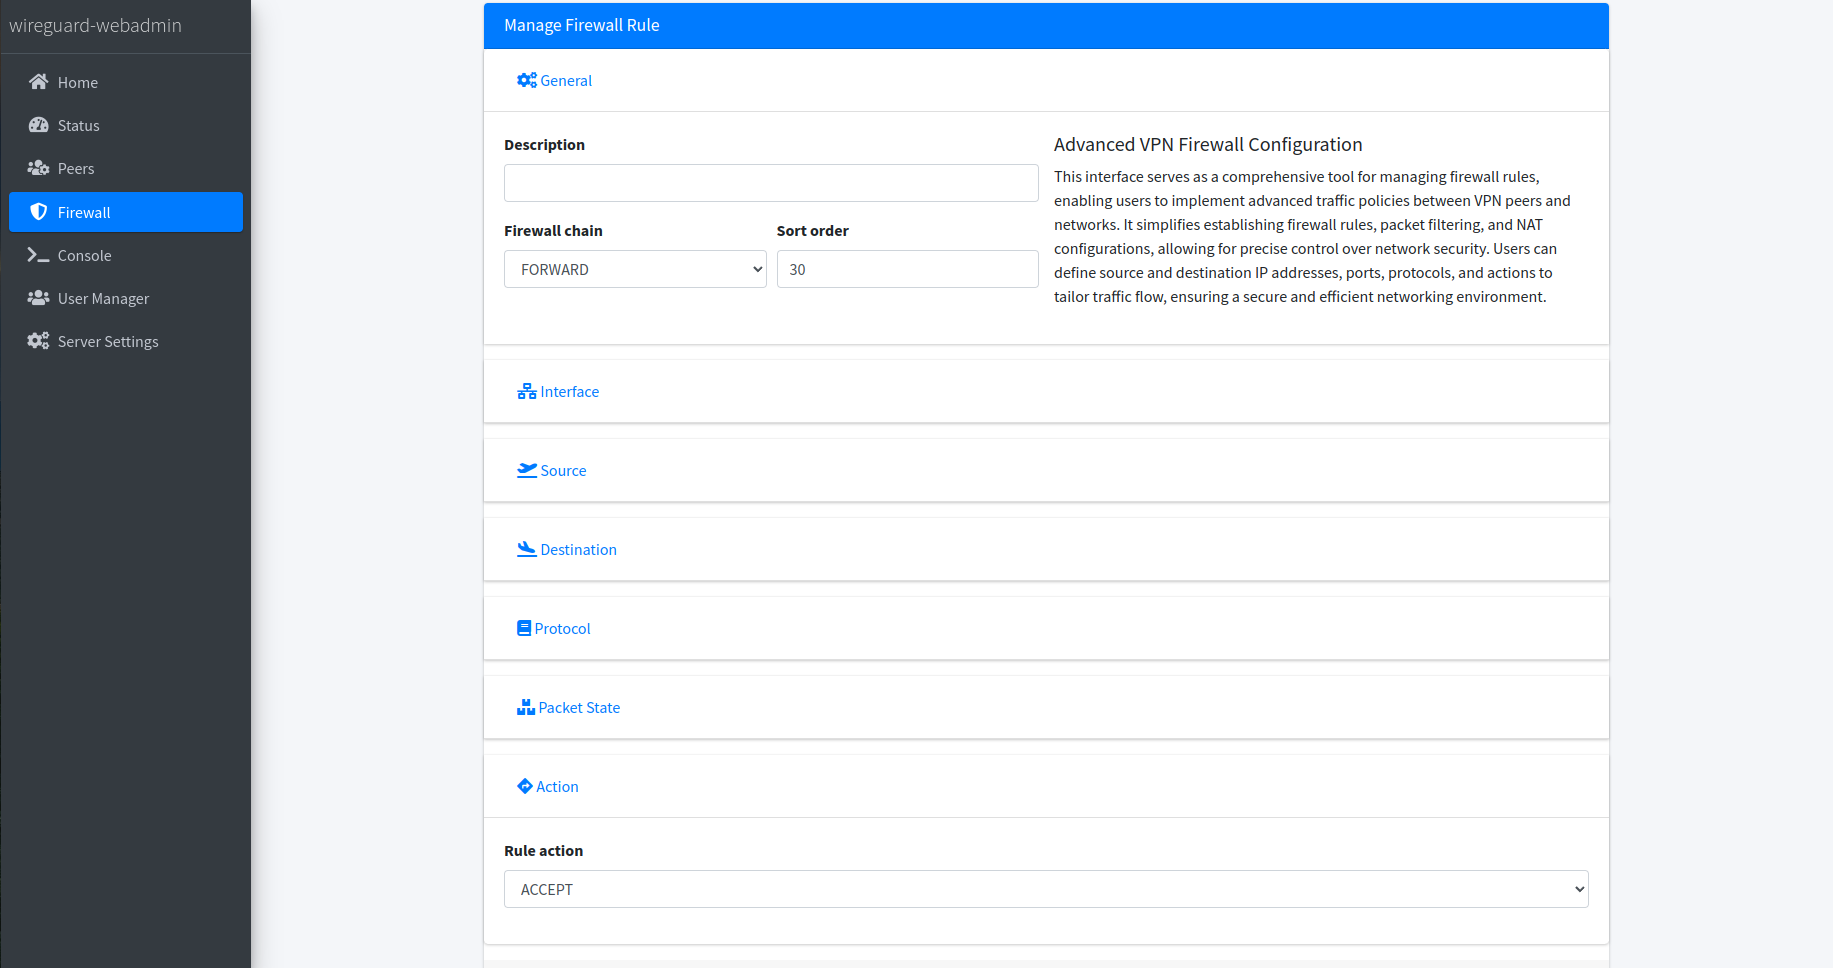
Offers a comprehensive interface for managing VPN firewall rules, enabling users to easily create, edit, and delete rules with iptables-style syntax. This feature ensures precise control over network traffic, enhancing security and connectivity for WireGuard VPN instances.
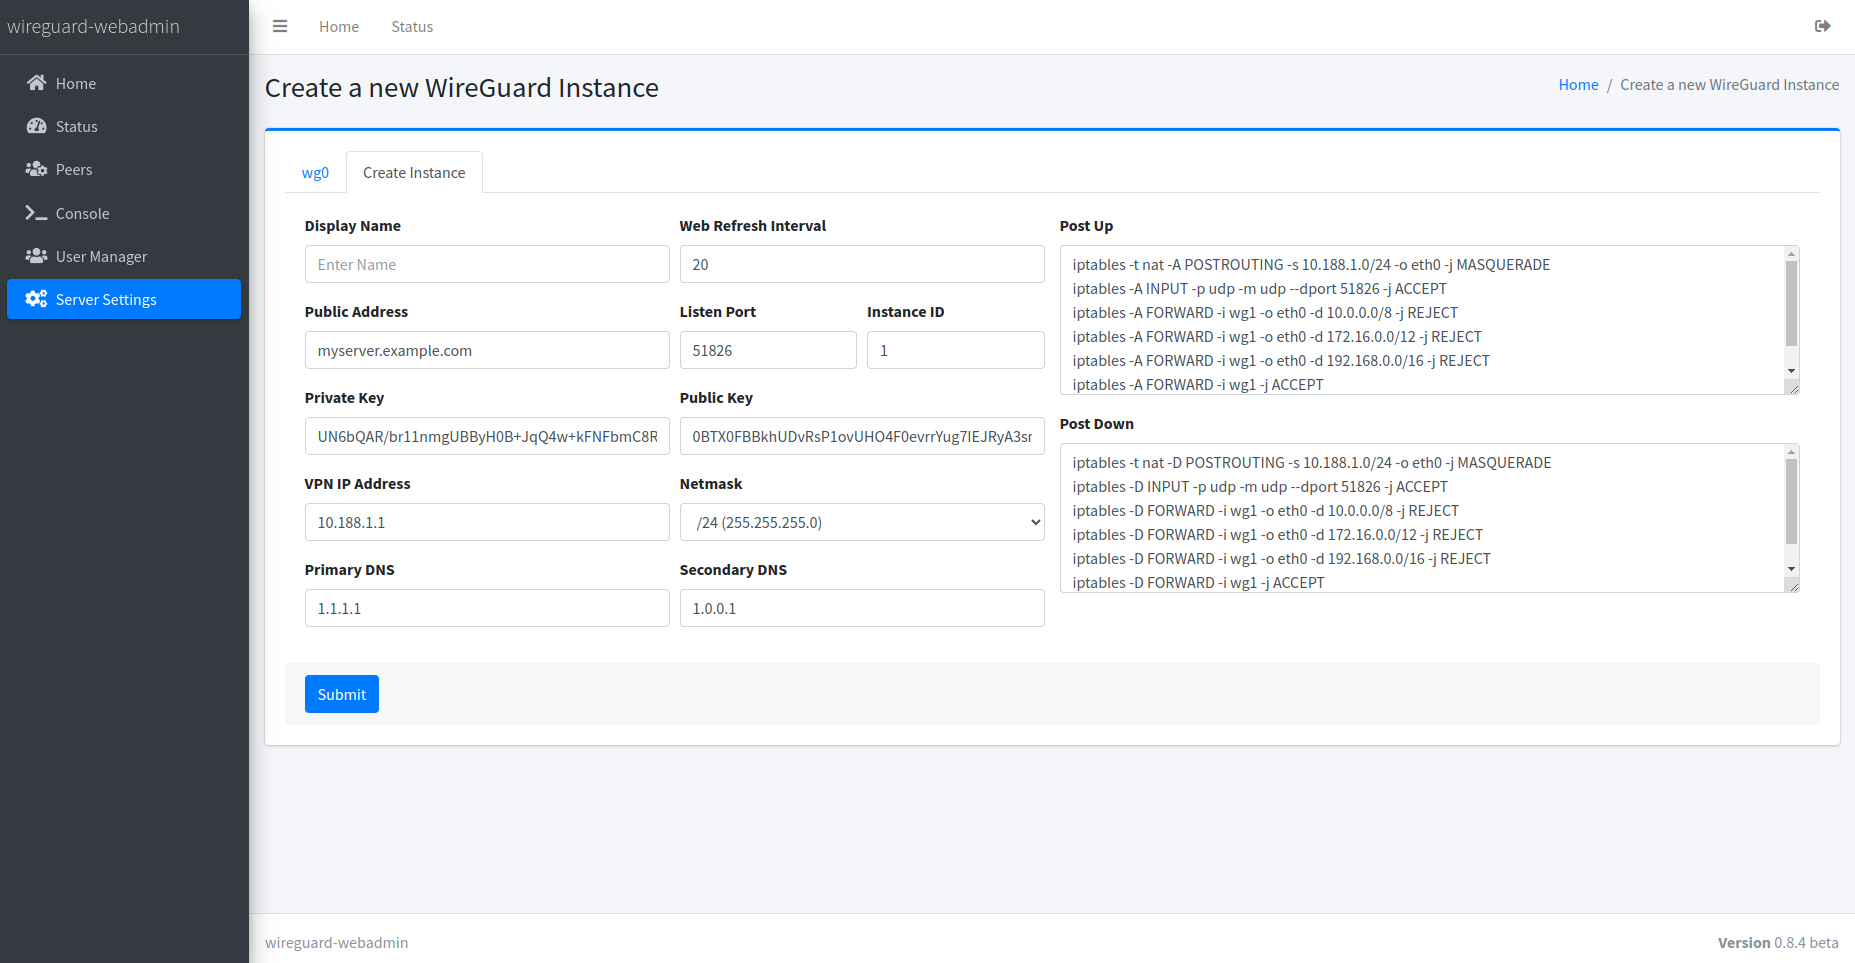
WireGuard Instance Settings
A central hub for managing settings across one or multiple WireGuard instances, enabling straightforward configuration adjustments for VPN interfaces.
Console
Offers quick access to common debugging tools, facilitating the diagnosis and resolution of potential issues within the WireGuard VPN environment.

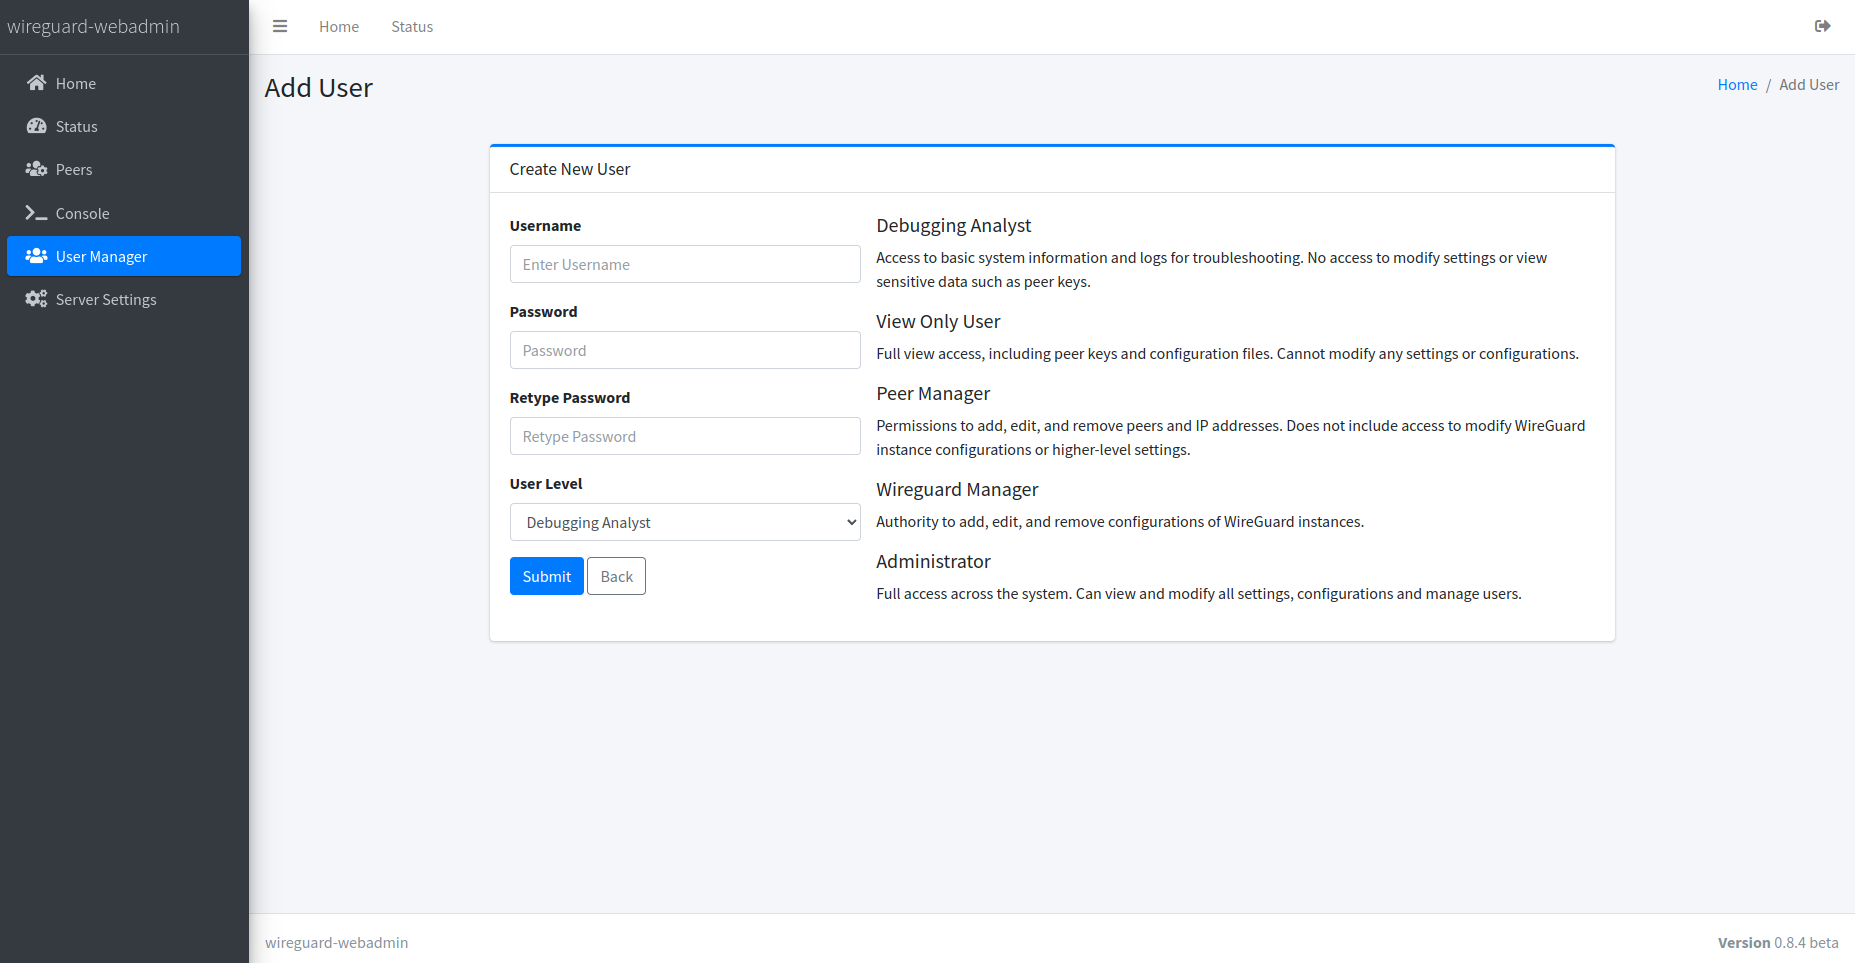
User Manager
Supports multi-user environments by allowing the assignment of varying permission levels, from restricted access to full administrative rights, ensuring secure and tailored access control.
Deployment
Follow these steps to deploy wireguard_webadmin:
-
Clone the repository:
git clone https://github.com/eduardogsilva/wireguard_webadmin -
Run Docker Compose (choose one):
With NGINX (Recommended)
This mode is recommended for running the web admin interface. The container deployment will automatically generate a self-signed certificate for you. If you want to update your certificates, simply navigate to the
certificatesvolume and replacenginx.pemandnginx.keywith your own certificates. If you don't have a DNS name pointing to your server, useSERVER_ADDRESS=ip_address.SERVER_ADDRESS=yourserver.example.com docker compose up --build -dAccess the web interface using
https://yourserver.example.com. If you are using a self-signed certificate, you must accept the certificate exception that your browser will present.Without NGINX (Debug mode and testing only)
This mode does not use SSL certificates and runs Django with
DEBUG=True. Not recommended for production use without HTTPS.docker compose -f docker-compose-no-nginx.yml up --build -dAccess the web interface using
http://127.0.0.1:8000.
After completing these steps, your wireguard_webadmin should be up and running. Begin configuration by accessing your server.
Upgrade Instructions
Upgrading your wireguard_webadmin installation ensures you have the latest features, security updates, and bug fixes. Follow these steps to upgrade safely:
-
Preparation:
Begin by navigating to your wireguard_webadmin directory:
cd path/to/wireguard_webadmin -
Shutdown Services:
Gracefully stop all running services to ensure there's no data loss:
docker compose down -
Backup Database:
It's crucial to back up your database before proceeding with the upgrade. This step ensures you can restore your data in case something goes wrong during the upgrade process. Use the following command to create a backup of your database files, which will include the current date in the backup filename for easy identification:
tar cvfz /root/wireguard-webadmin-$(date +%Y-%m-%d-%H%M%S).tar.gz /var/lib/docker/volumes/wireguard_webadmin_wireguard/_data/This command compresses and saves the database files to the
/rootdirectory. Adjust the path as necessary to match your backup storage practices. -
Fetch the Latest Updates:
Pull the latest version of wireguard_webadmin from the repository:
git pull origin main -
Deploy Updated Version:
Re-deploy wireguard_webadmin using Docker Compose. If you're using NGINX as a reverse proxy (recommended for production), ensure your SSL certificates are in place and then start the services:
SERVER_ADDRESS=yourserver.example.com docker compose up --build -dIf you're in a development or testing environment and not using NGINX, you can start the services without it:
docker compose -f docker-compose-no-nginx.yml up --build -d -
Verify Operation:
After the services start, access the web interface to verify that wireguard_webadmin is functioning correctly. Check the application logs if you encounter any issues:
docker compose logs -
Post-Upgrade:
- Review application and system logs to ensure there are no errors.
- If you encounter issues, consult the Discussions page or revert to your backup if necessary.
Contributing
Contributions make the open-source community an amazing place to learn, inspire, and create. Your contributions are greatly appreciated.
Support
If you encounter any issues or require assistance, please open an issue on the project's GitHub page.